
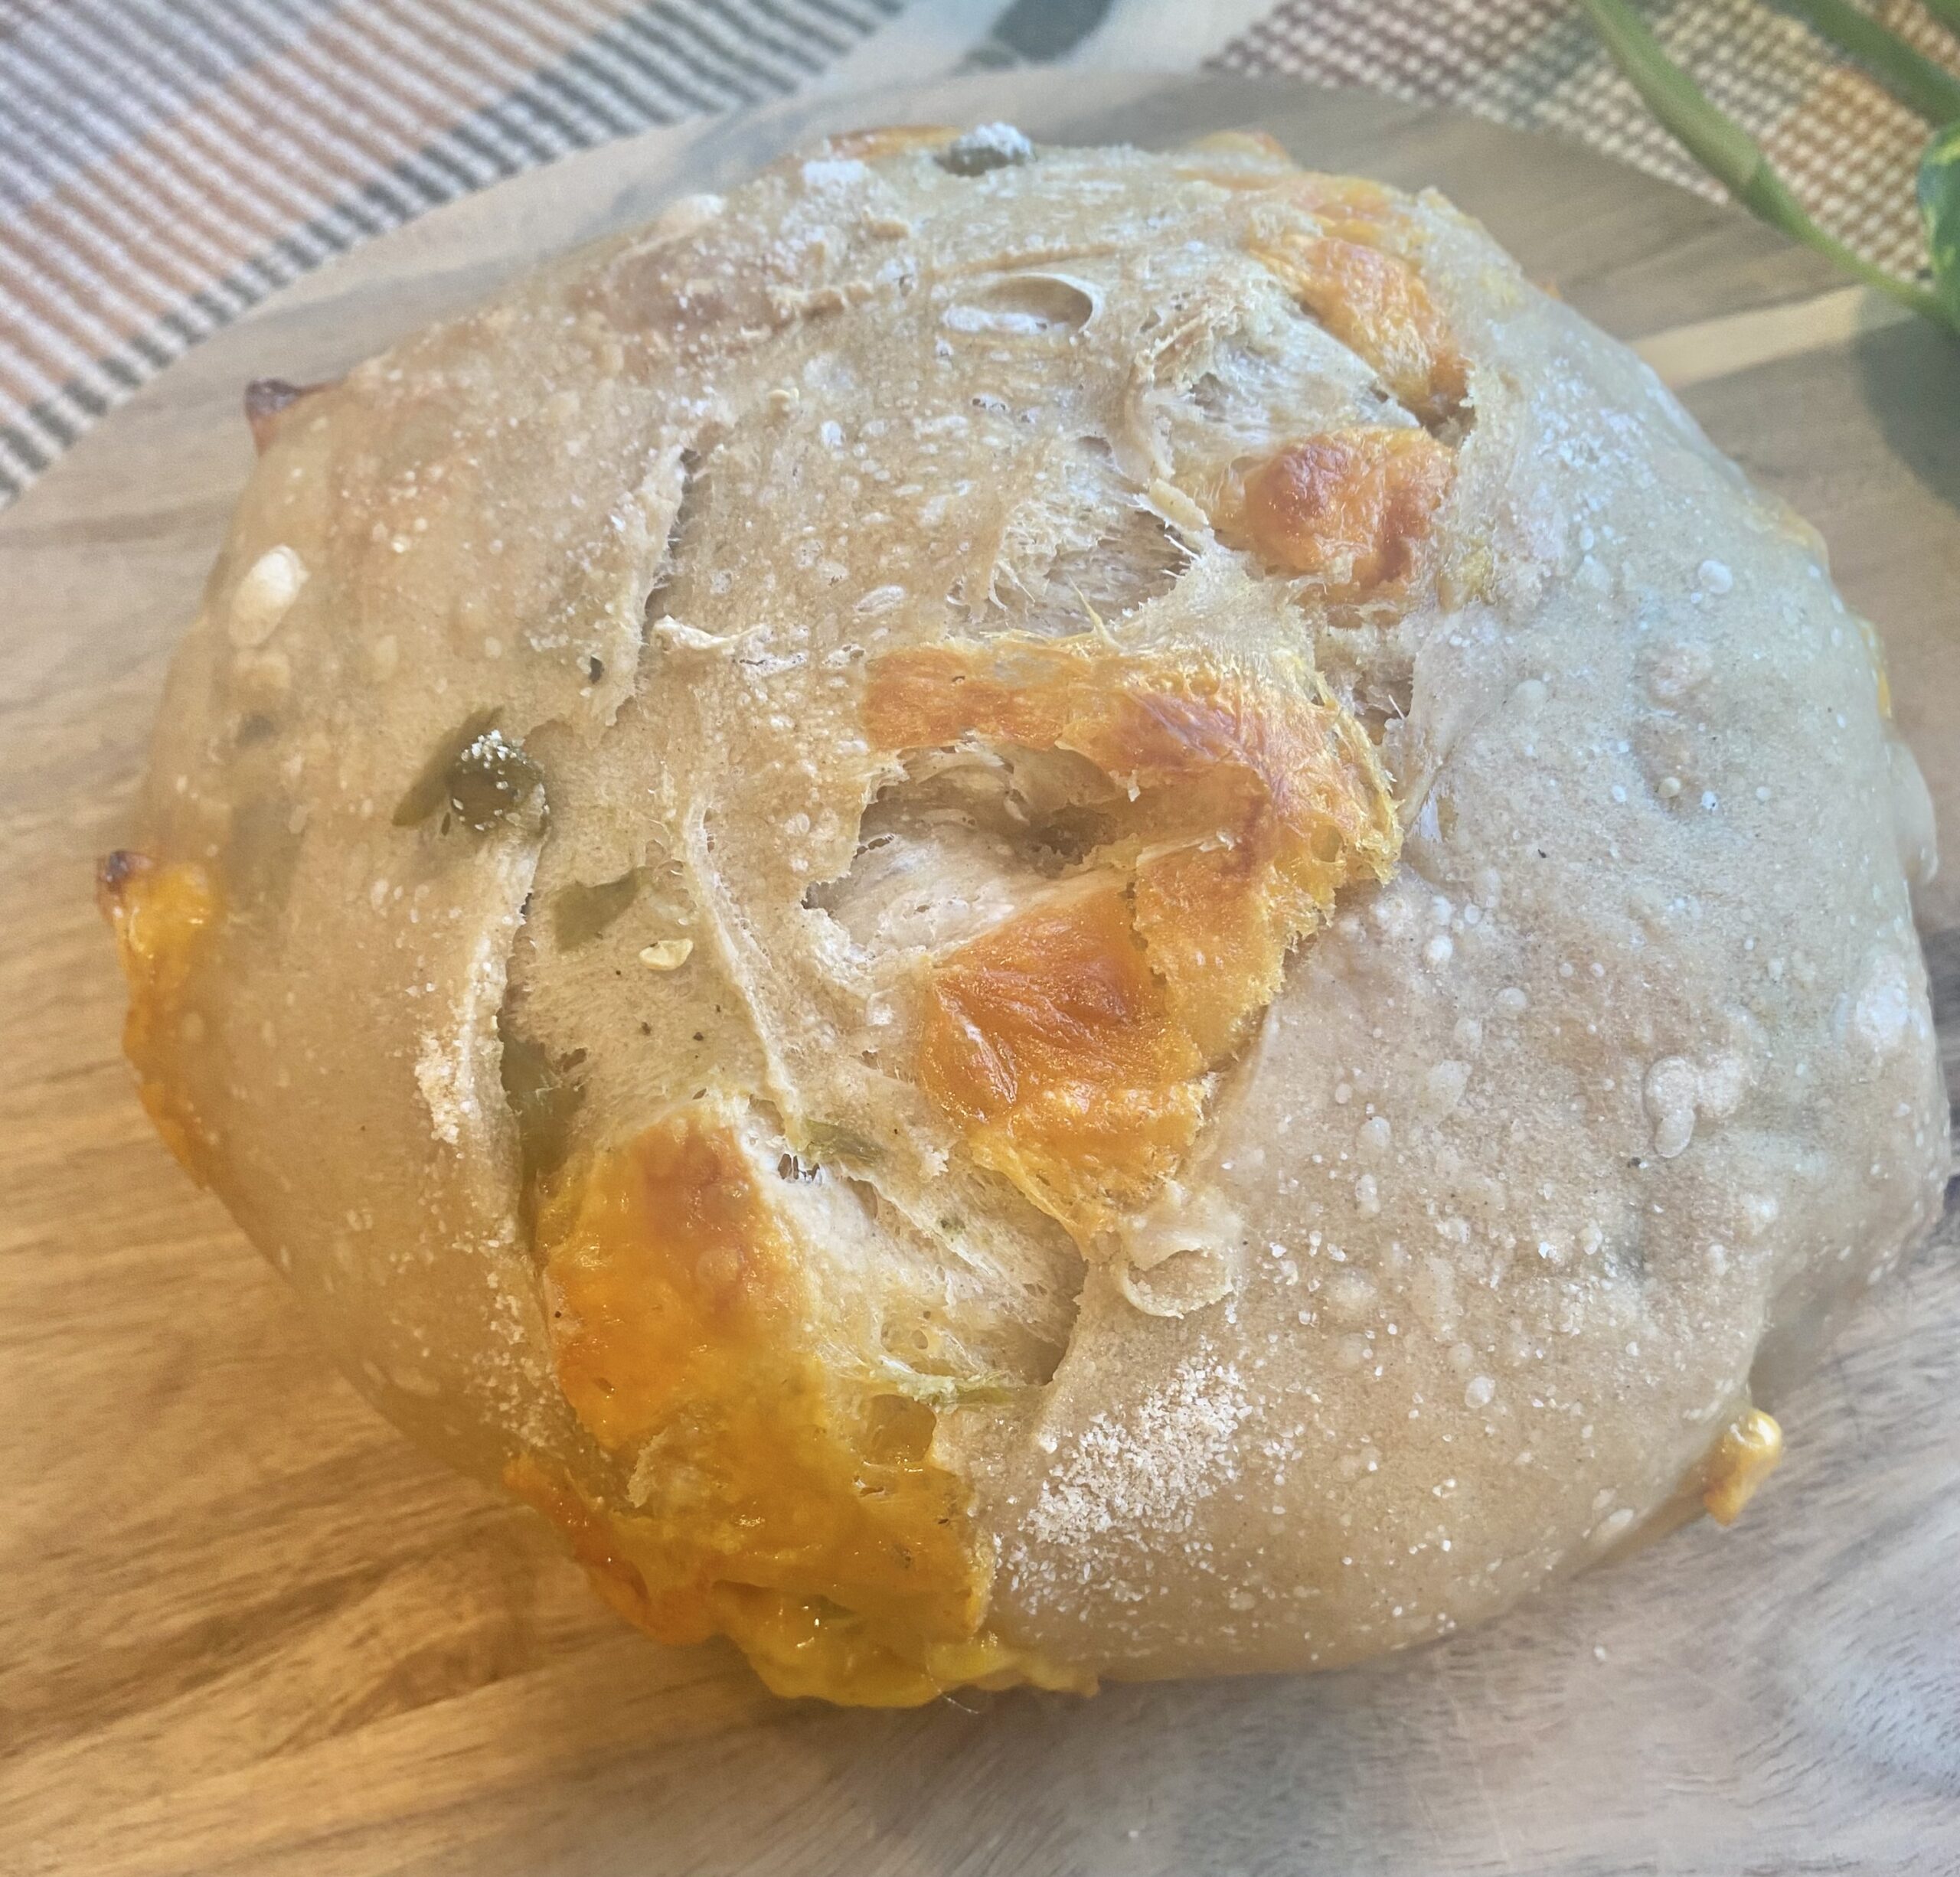
Oh this amazing bread! Sharp cheddar and green chilies wrapped up in a deliciously delightful loaf of smooth sourdough bread.
A Big Winner
Whenever I teach sourdough classes I make this bread. Whenever I have big groups of people over for dinner, I make this bread. And, whenever I want to eat a whole loaf of bread by myself, I make this bread (or this one is a close second).
This recipe can be made with any artisan bread recipe, if you have one that you already love, but I have included the recipe that I use as well. I prefer to use half whole grain in the bread dough. It still turns out yummy and delicious but it is more nutritious and more filling so I don’t actually eat the whole loaf!

Doubled and Dairy Free Option
The recipe can easily be doubled if you need two delicious loaves to stare at you with their tempting deliciousness!
I don’t have any experience with store bought dairy free cheese and so I’m not sure how they would work in this bread. But when I have made it dairy free, I use the green chiles and then sprinkle nutritional yeast over the green chiles. It doesn’t mimic the melty cheese but it does add yummy flavor.

One or Two Rises
The recipe I use below is for an Artisan loaf that requires only one rise. Because of this singular rise, I put the green chiles and cheese in right after I do the stretch and folds and before I form the loaf. After all that delicious goodness is folded up inside of it, it sits in the fridge for 18-36 hours.
If the recipe you are using requires two rises, add the green chiles and cheese after the first rise before the loaf is formed for the second rise.
This bread is so yummy and worth the extra effort of chopping up some cheese and opening a can of green chiles!

Green Chile Cheese Sourdough Bread
Makes 1 Round Loaf
4 oz sharp cheddar cheese, diced into small cubes (Dairy free? See Notes)
7 oz can of diced green chiles (we prefer mild)
Dough Ingredients:
1 cup (200 grams) active sourdough starter
1 3/4 cups (400 grams) water
2 teaspoons (13 grams) salt
2 cups (300 g) whole grain or all-purpose flour
2 cups (290-300 g) all-purpose flour (see note)
Directions
Add all the ingredients to a large bowl. Mix with a spoon until the dough comes together in a shaggy mass. Cover. Let the dough sit on your counter for 30 minutes. Uncover the bowl, wet your hand with a little water and using your hand, pull up the dough from one side of the bowl, stretch it upward and then fold the dough over onto itself. Turn the bowl and do the same thing again from another angle. Continue spinning the bowl and stretching and folding the dough about 6 times.
Cover the dough and let it sit another 30 minutes. Stretch and fold the dough a second time. You can do the stretch and fold another 2 times every 30 minutes or you can be done now. More stretch and folds can help the gluten develop but it isn’t always necessary. If you have time, do it. If not, no worries (it will still be delicious just might not have a picture perfect crumb).
Add Toppings
Put a little oil on your clean counter and rub it around and rub it on your hands. Dump the dough onto the oil. Spread and stretch the dough into a rectangle with your hands. It doesn’t have to be a perfect rectangle, just spread it out as best you can. Open the can of green chiles and using a spoon spread most of the chiles around on the dough. Sprinkle most of the cheese around on top of the green chiles. Using your hand press the toppings gently into the dough. Fold the dough in thirds. First from the bottom to the center and then the top half over the folded section. Add the rest of the toppings to this last layer of the dough.
Form the Bread and Let Rise
Roll the dough up and form it into a ball and carefully pull the dough ball toward you on the counter so that the top of the dough can be pulled taught. Do it again from another angle. Once the dough is a tight round ball place it on a piece of parchment paper. Rub the top of the dough with fine rice flour (optional). Place the dough in a glass bowl and cover it with plastic wrap. Put the dough in the fridge for 18-48 hours It will rise slowly in the fridge.
Once you are ready to bake the bread, preheat the oven to 500 degrees with cast iron Dutch oven inside for 30-60 minutes. Once the pan is hot, pull the dough out of the refrigerator and score the top of it. Place the dough into the preheated Dutch oven (parchment paper and all). You can add steam for a crustier loaf with either a few sprays of water from a spray bottle or tossing a couple ice cubes in the oven.
Bake and Enjoy!
Bake 20-25 minutes with lid on. Remove lid, reduce heat to 400, and bake an additional 20-35 minutes or until internal temperature reaches 200 degrees. This is the thermometer I use and it takes all the guesswork out of knowing when the bread is done. It is my favorite sourdough tool!


Tweak It Notes
- Bread Flour vs All-purpose Flour – You can substitute bread flour for the all-purpose flour in this recipe.
- Dairy Free – In place of the cheese, I sprinkle 2-3 tablespoons of nutritional yeast over the top of the green chiles. The nutritional yeast doesn’t mimic the melty cheese but it does something super yummy to the green chilis. We love it!