A moist, soft, gluten free chocolate cake that is perfect for celebrations or everyday enjoyment magically made with healthy quinoa.
No One Will Know it is Quinoa
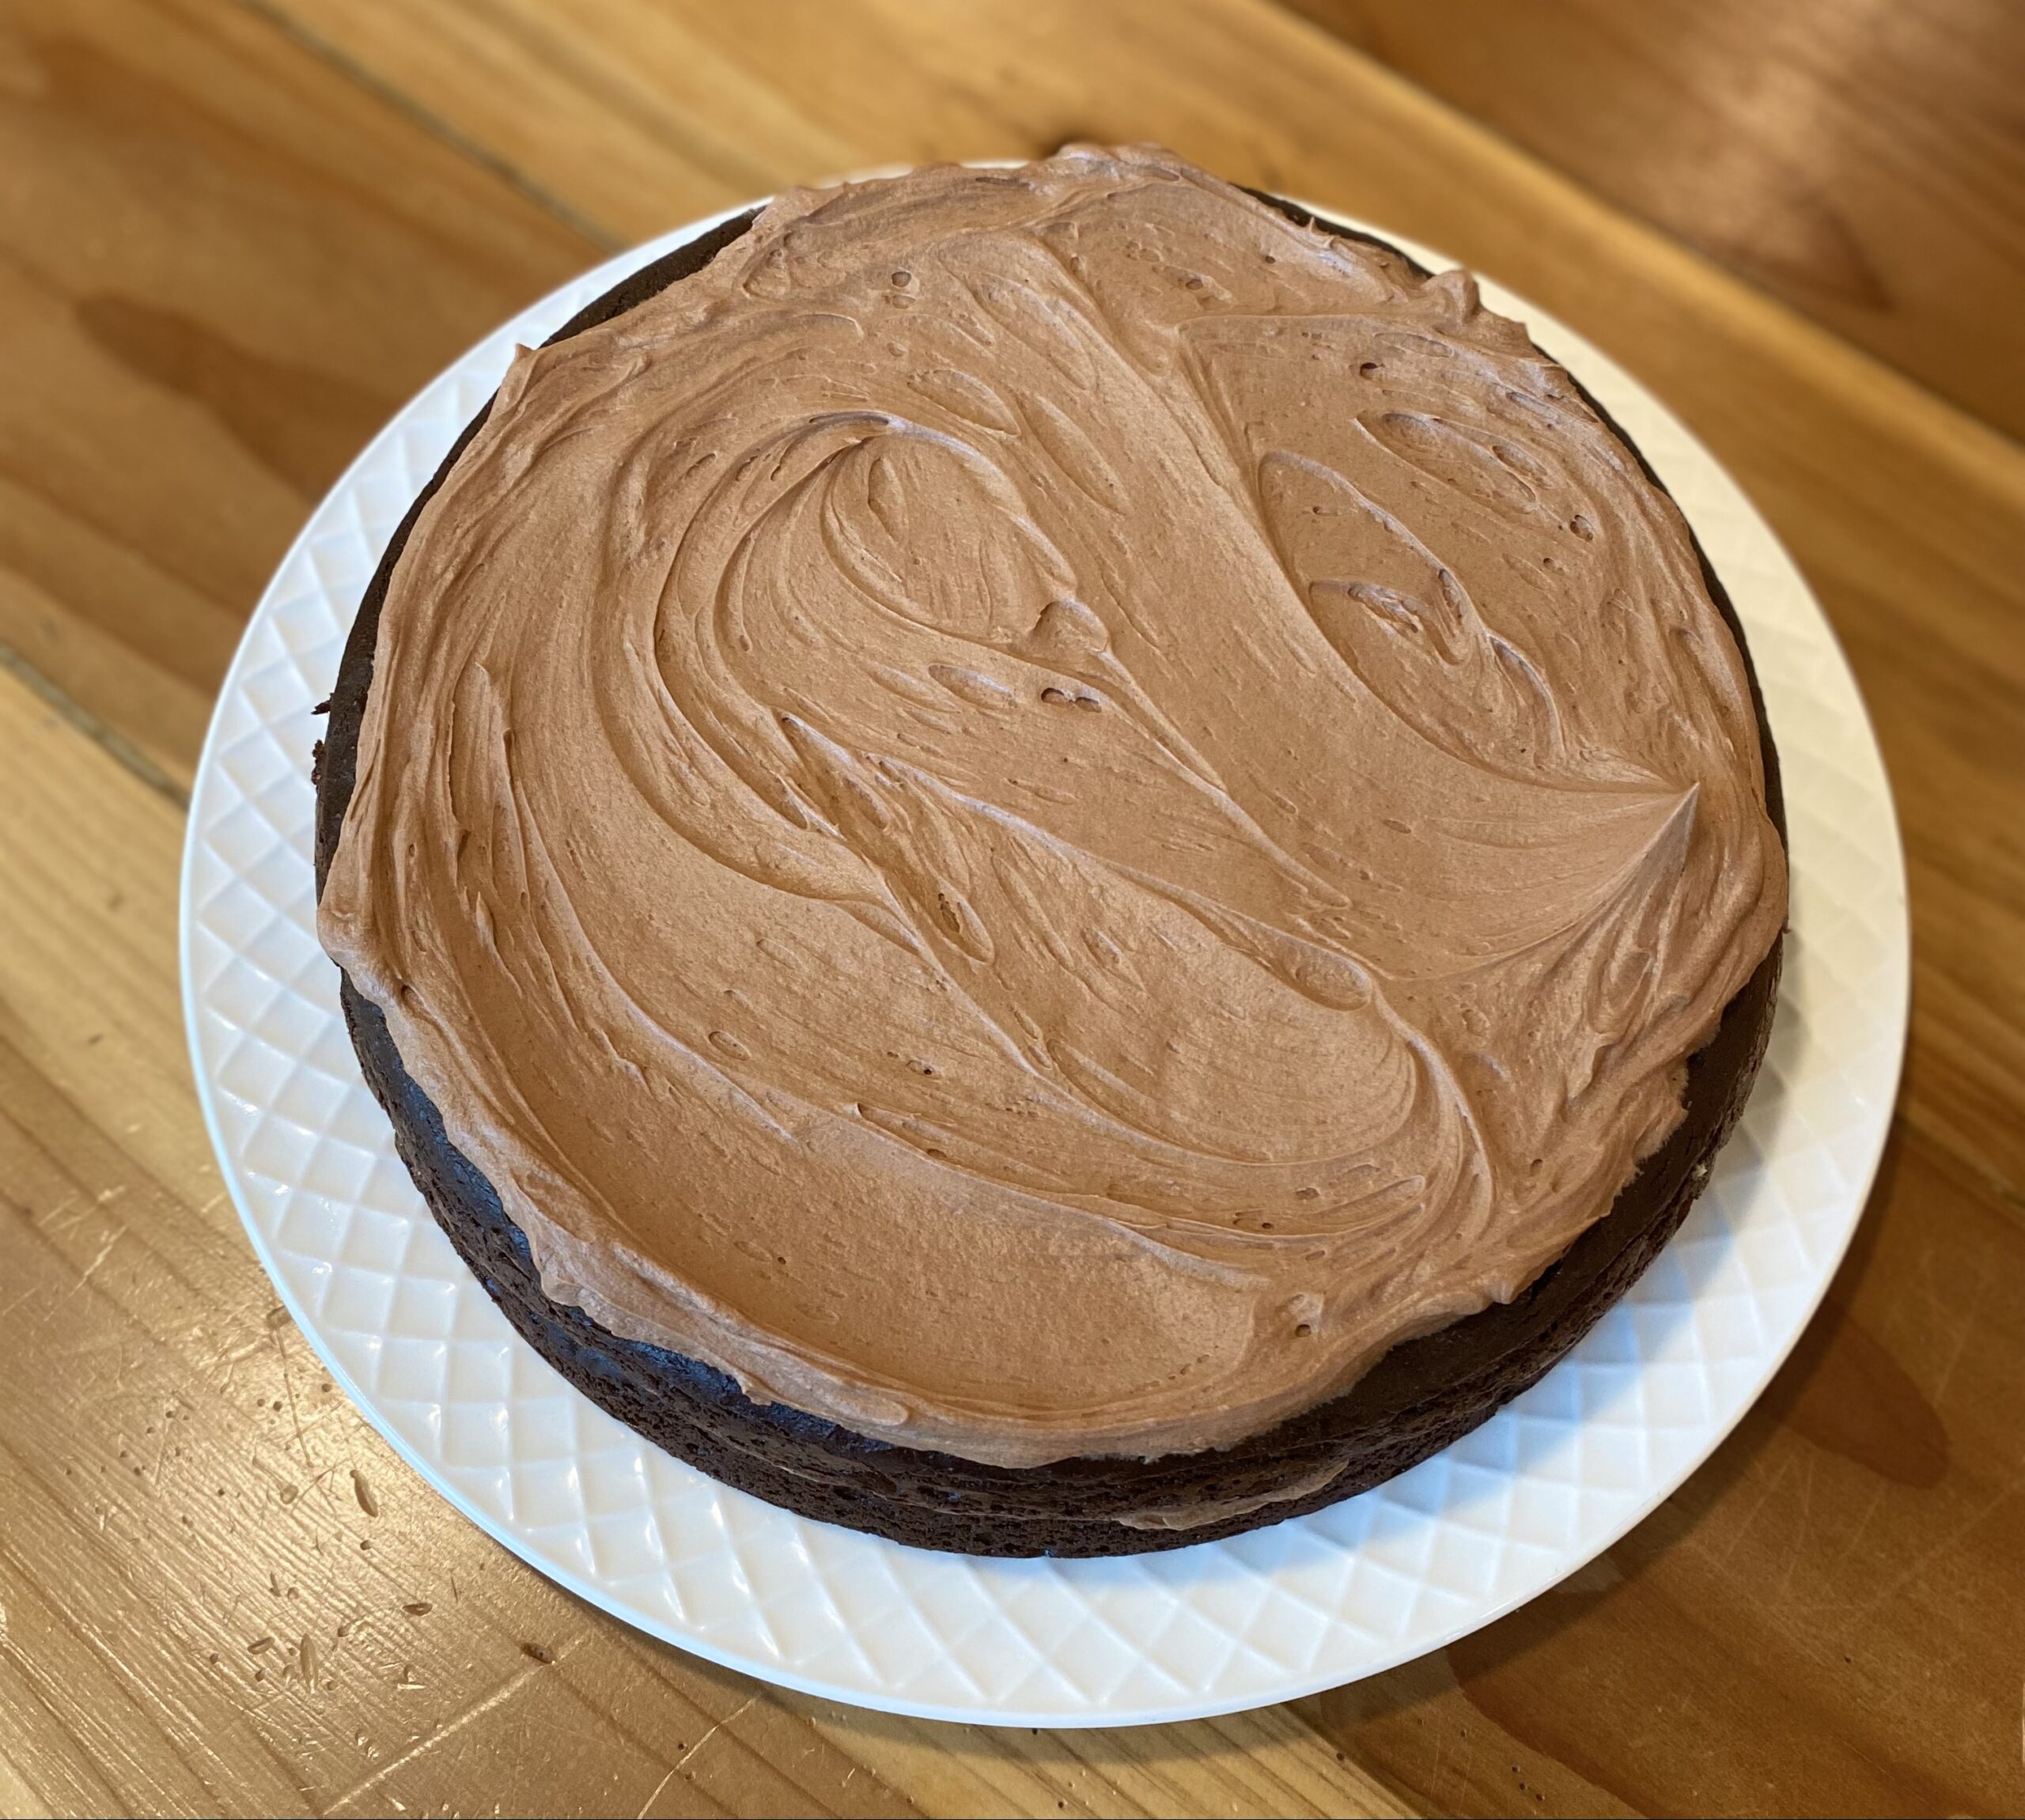
Oh, this cake! I have made it for birthdays and holidays and weddings and just for fun. It comes together quickly, it is gluten free and it tastes delicious.
Do you use much quinoa? This recipe comes from the cookbook Quinoa 365 by Patricia Green and Carolyn Hemming. They have so many quinoa recipes; you won’t know where to start. A lot of the recipes are just adding quinoa to everyday meals with a combo of different grains but others, like this cake are totally grain free. The bulk of the cake is the quinoa.
I made this recipe for the first time about twelve years ago. We were at the beginning of our gluten free journey and I had made some serious food flops. I was hesitant to try this recipe because it looked like another flop waiting to happen. I mean seriously, blend quinoa in a blender with eggs and hope for the best!
This amazing cake really surprised me. It is moist, flavorful, holds together well and it tastes great.

Frosting or Not
The original recipe does not call for frosting but we prefer it with frosting, especially when it is for a birthday or celebration. I have paired lots of different frostings with this cake. Chocolate buttercream and chocolate whipped cream are our two favorites.
I often soak the quinoa for this recipe. It not only aids with digestion, it also makes the flavor of the quinoa subtler. Quinoa doesn’t require a long soak because it is such a small seed – a few hours sitting in pure, clean water, will do the trick. The soak time is completely optional.

How to Make it Dairy Free
This recipe can be made dairy free as well by substituting a good quality, dairy free butter. Miyoko’s is my favorite in this cake. I have tried it with coconut oil and I don’t like it quite as much.
For the milk, I use coconut milk or almond milk.
When you do it dairy free, you can do a chocolate buttercream with dairy free butter or you can skip the frosting and sprinkle a little powdered sugar on top.
Coconut sugar is a great replacement for the granulated sugar.

All the Tips and Tricks You Need
Over the years, as I have made this, I have learned a few tips and tricks. First, be sure to blend the quinoa really well. You want it smooth with no bits of the quinoa remaining or the texture of the cake can be compromised.
Second, sift the dry ingredients. Do you hate the idea of sifting? I didn’t sift the dry ingredients in this cake for years and we all survived so you do not have to sift. But, I feel like the sifting ensures a more consistent end result.
Third, if using cake rounds to bake your cake, line your pan with parchment paper. I didn’t believe the book when I first read it and I skipped the parchment. It was nigh impossible to get those cakes out of the pans. As annoying as it can be to cut out round pieces of parchment paper, it is so very worth it in this case.

Gluten Free Quinoa Chocolate Cake
¾ cup butter (I use Miyoko’s)
⅓ cup milk (coconut or almond milk)
4 large eggs
1 teaspoon pure vanilla extract
2 cups cooked and cooled quinoa
1½ cups granulated sugar (can use coconut sugar)
1 cup unsweetened cocoa powder
1½ teaspoons baking powder
½ teaspoon baking soda
½ teaspoon salt
Preheat the oven to 350 degrees. Melt the 3/4 c butter and let cool. Add to a high-powered blender. Add 1/3 c milk, 4 eggs and 1 t vanilla. Pulse until combined. Add the 2 c quinoa. Blend until no bits of quinoa remain. If you need to add more liquid to get it to blend do it a teaspoon of milk at a time. The batter will be fairly thick. You will need to scoop it out of the blender. It should not be thin enough to pour out of the blender.
In a large bowl, sift the 1 c cocoa, 1 1/2 c sugar, 1 1/2 t baking powder, 1/2 t soda and 1/2 t salt. Scoop the quinoa mixture into the bowl with the cocoa mixture. Stir until just combined. Scoop the batter evenly between 2-8 inch rounds, lined with parchment paper (do not skip the parchment paper, you will be sad) or a greased 9×13 pan. Bake for 40-45 minutes or until a toothpick inserted in the center comes out clean. Let cool and frost if desired.
