In this four ingredient loaf, you will find the goodness of sourdough as well as increased nutrition of whole grain.
Why Sourdough?
Do you know why sourdough is beneficial? It all begins with a little single celled fungi and his bacteria buddy who live happily together inside a sourdough starter. Their whole purpose in life is to multiply and to eat. What do they eat you ask? They eat the simple sugars in flour.
Inside any given sourdough starter you will find millions, if not billions of these little guys. As our fungi friend eats through those simple sugars in flour he creates carbon dioxide or gas. That’s what causes the starter to bubble and that’s also what raises bread beautifully or explode all over your counter as seen below!
The bacteria buddy creates the lactic acid which makes the starter sour but also keeps the PH low so bad bacteria won’t thrive. Aren’t they the best little team?!

Working Their Magic
Back to the question at hand, why sourdough is beneficial – those little organism friends in your starter are “predigesting” the flour for you so it makes it easier for your body to digest.
They also make the vitamins and minerals in the flour more available so your body can absorb them. Magical!

Increase the Nutrition
The trick with sourdough is to add some flour that has an abundance of vitamins and minerals so that there is something for your body to absorb. Whole grain flours have 76% more vitamins and minerals than their all-purpose flour counterpart. If you want to increase the nutrition of your sourdough bread, increase the whole grains.
In this Artisan Sourdough Loaf, I use half whole grain but even one cup of whole grain would be better than none. This recipe also only has one rise and that makes it a very flexible recipe on time – and that is helpful if life is busy!

Artisan Sourdough Loaf (Single Rise)
1 cup (200 grams) active, bubbly sourdough starter
1 3/4 cups (400 grams) water
2 teaspoons (13 grams) salt
2 cups (300 g) whole grain or all-purpose flour
2 cups (290-300 g) all-purpose flour
Mix it
Add the starter, water, salt and whole grain flour into a large bowl. Mix with a spoon until the starter is loosely mixed into the other ingredients. Add the all-purpose flour and mix again until the dough comes together in a shaggy mass. Cover. Let the dough sit on your counter for 30 minutes.
Develop the Gluten
Uncover the bowl and using your hand, pull up the dough from one side of the bowl, stretch it upward and then fold the dough over onto itself. (This is called a “Stretch and fold” – pretty descriptive right!) Turn the bowl and do the same thing again from another angle. Continue spinning the bowl and stretching and folding the dough, about 4-6 times, or as many as you need to make it around the whole bowl.
Cover the dough and let it sit another 30 minutes. Stretch and fold the dough a second time. You can do the stretch and fold another 2 times every 30 minutes or you can be done now. More stretch and folds can help the gluten develop but it isn’t always necessary if you are short on time. This is a very forgiving recipe.
Form the Dough
Put a little oil on your clean counter and rub it around and rub it on your hands. Dump the dough onto the oil. Pick up the dough in your oiled hands and form the dough into a ball by turning the edge of the dough under itself over and over, rotating the dough until it is smooth on top. Then, place the dough on the counter and with both hands on the edge of the dough, carefully pull the dough ball toward you on the counter so that the top of the dough can be pulled taught. Do it again from another angle. Once the dough is a tight, round ball place it on a piece of parchment paper.
Let is Rise
Rub the top of the dough with fine rice flour (optional but can help with the scoring later on). Place the dough in a glass bowl and cover it with plastic wrap. Put the dough in the fridge for 18-48 hours. It will rise slowly in the fridge.
Bake
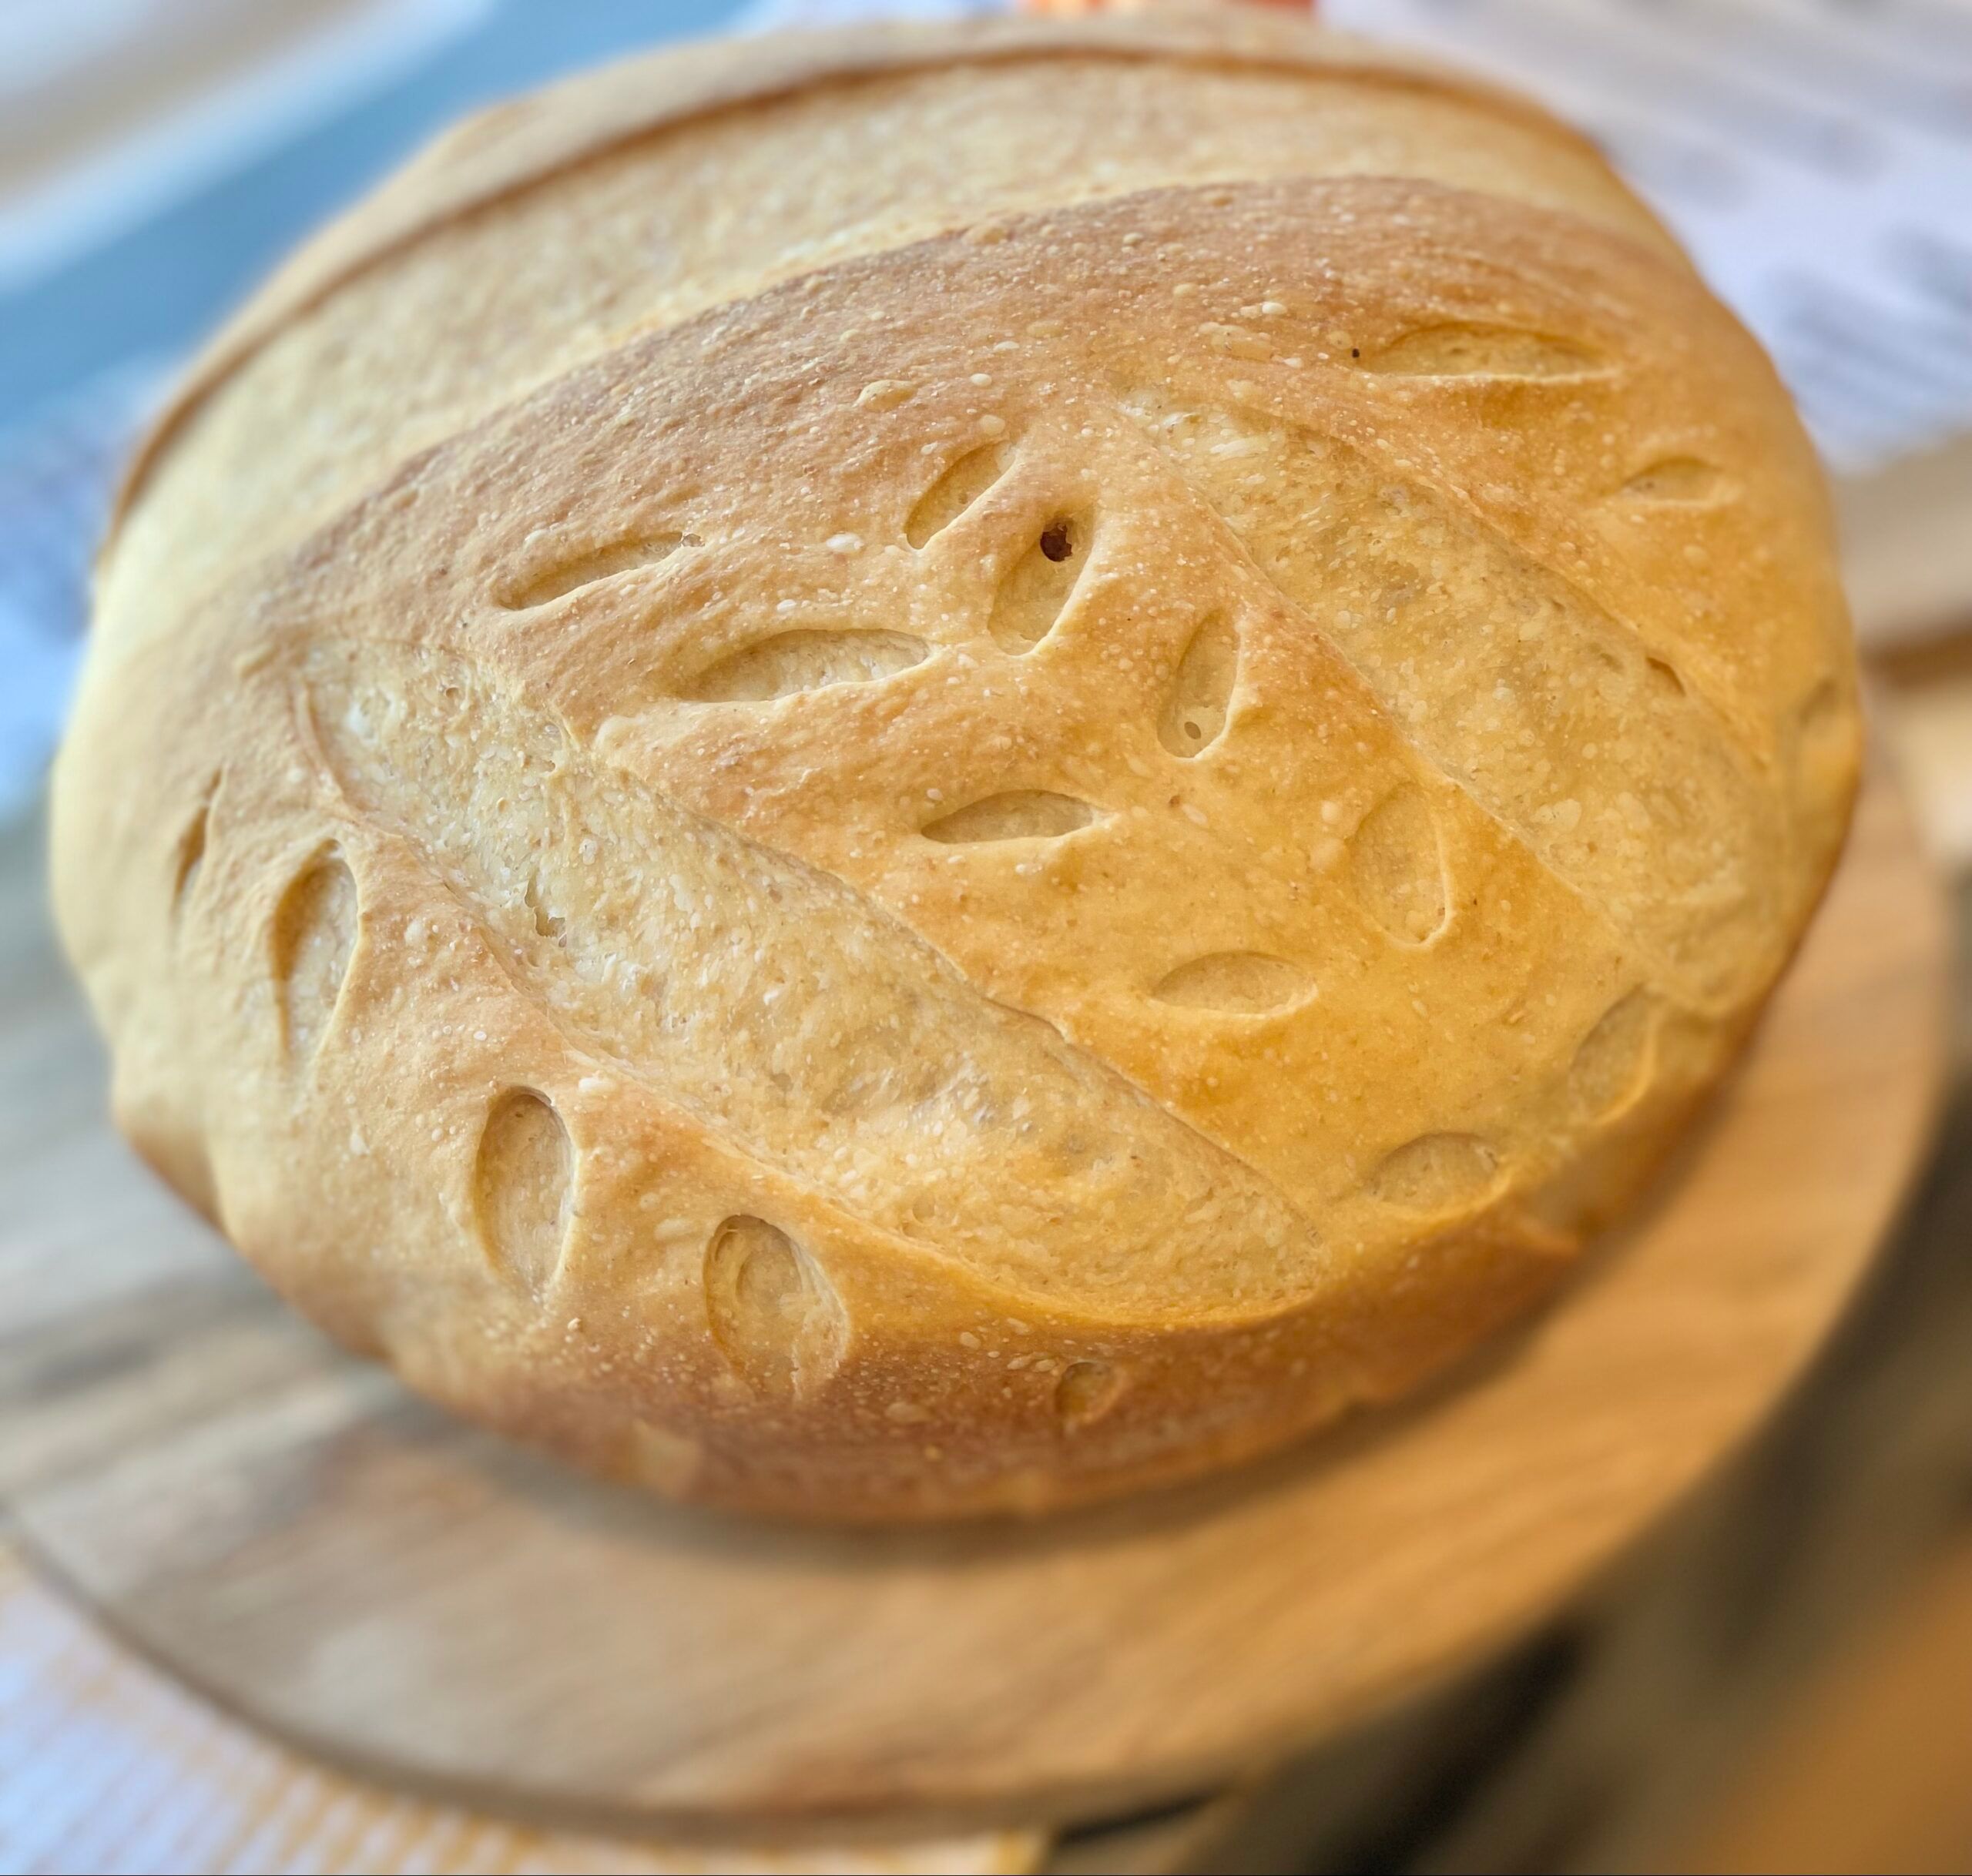
Once you are ready to bake the bread, preheat the oven to 400 degrees with a cast iron dutch oven inside (If you don’t have a dutch oven you can bake it on a cookie sheet but you will want to cover it with foil or a metal bowl for the first 20-30 minutes). Once the oven is hot, pull the dough out of the fridge and score the top of it in whatever pattern you like. Place the cold dough into the preheated Dutch oven or onto a cookie sheet (parchment paper and all).
Bake 20-30 minutes with the lid or cover on. Then, remove the lid, and bake an additional 20-30 minutes or until the internal temperature reaches 200 degrees. (I use this internal thermometer and it is SO helpful!!)


Tweak It Notes
- Bread Flour – If you prefer bread flour, you can absolutely use it in place of the all-purpose flour.
- Salt – I always use a salt with minerals in it – Real salt, celtic salt, pink himalayan
- Water – Filtered water is best for your body and sourdough.
- Grams vs. Cup measurements – If you are new to baking bread the gram measurements can be helpful because they are more specific than cups. Grams are a very tiny measurement and so measuring ingredients in grams will give you almost the exact results that I have in my kitchen. Just a thought!

